
Right then.
Time to break out the wrenches and put together my new ride.
The latest, much anticipated, offering from Schumacher, a Cougar SV2.
Regular UK racers will have seen alloy chassis prototypes at varoius events late in 2011 and early 2012 so the switch to an alloy chassis plate a la Losi 22 and Centro was not unexpected.
The thinking behind this, I am told, is that the alloy chassis offers more flex and feedback to the driver thereby delivering faster more consistent laptimes.
Time to pour a glass of cheeky red and dive into the Schumacher box that hs been sitting on my bench for a few weeks now.
(Click on any pic for full size photo gallery)

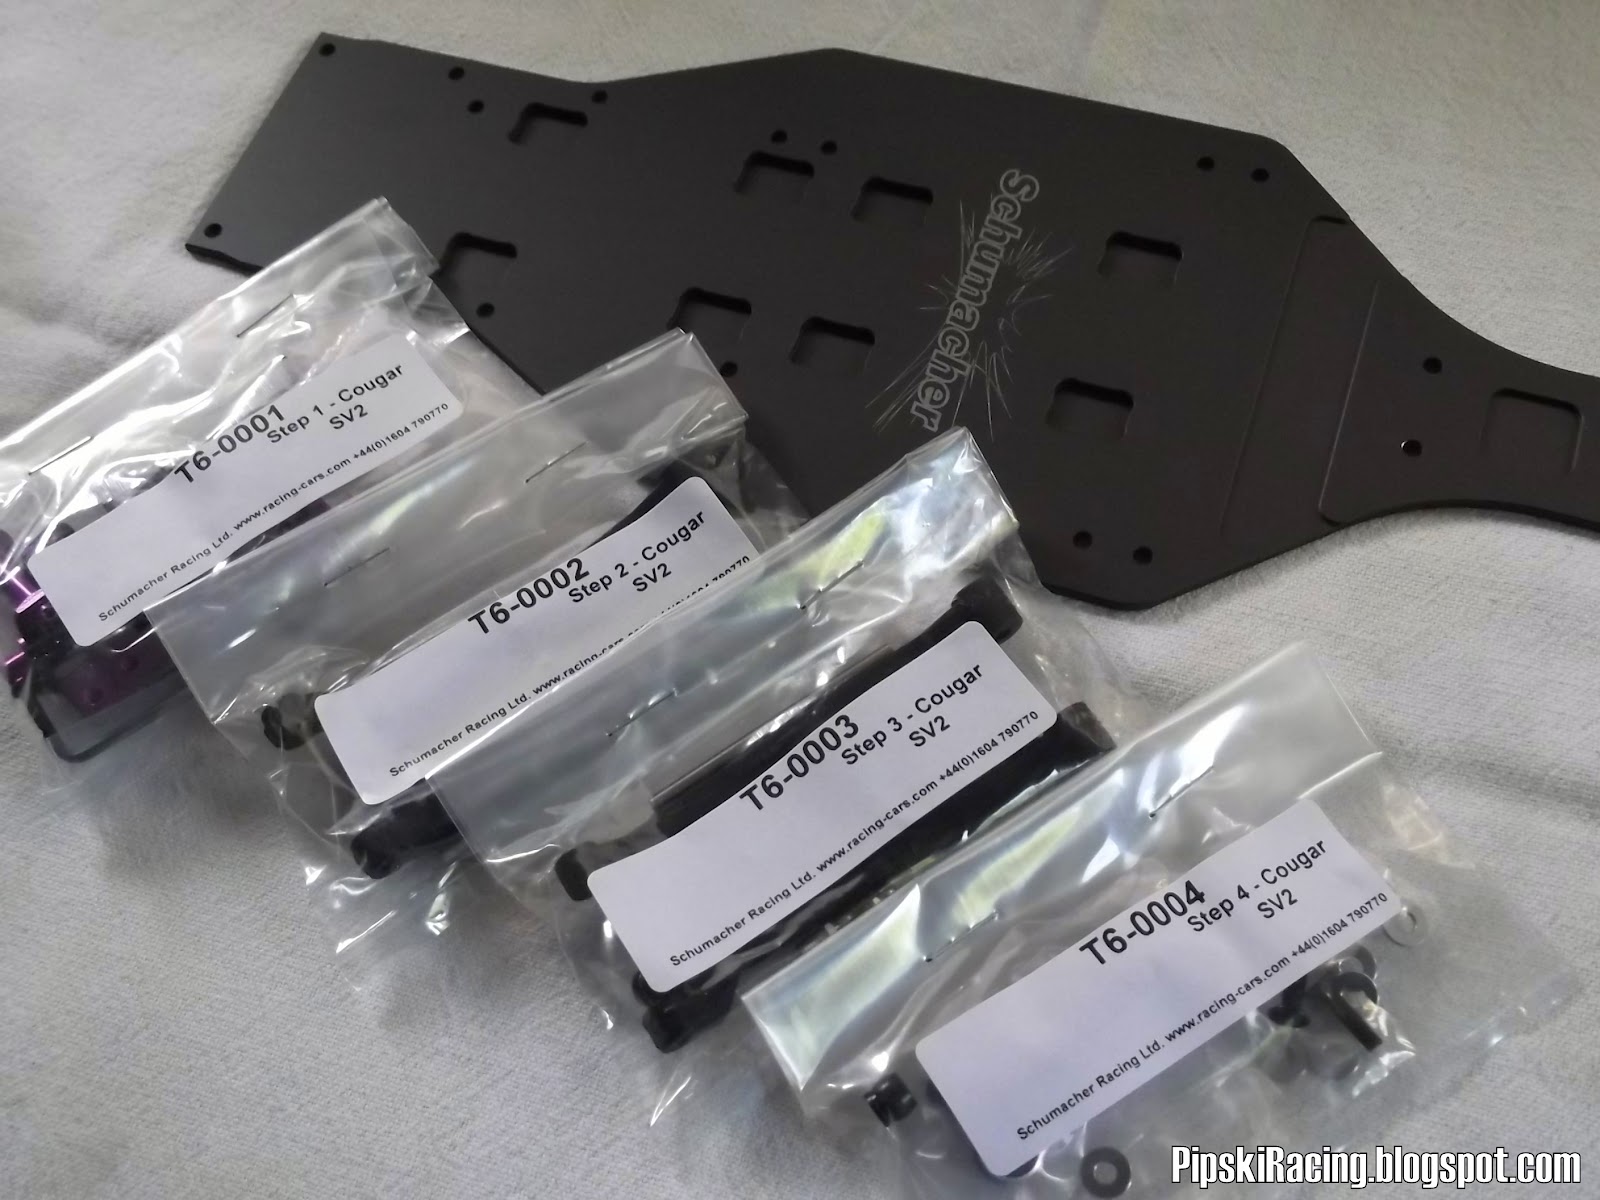
Anyone who has built a Schuie in the past will be familiar with the sight that greeted me upon opening the box. A very well packed and organised selection of labeled bags, all of which correspond to a particular build stage in the functional, if unexciting, manual.
I can recommend a Schumacher to anyone considering building their first kit, it's difficult to go wrong so well organised are the various little packets.

Schumacher fans will also be familiar with the neatly machined purple alloy parts that have become synonomous with Schuie cars.
The kit doesn't disappoint in this department.

First job is to bolt some of this purple deliciousness to the equally tasty alloy chassis. The etched Schumacher logo is a classy touch, it's a shame these lower casings were a different colour though!
The carbon battery cage looks like it will accept a shorty lipo across the chassis.

A four degree toe block is supplied as standard but alternatives can be found in the 'Speed Secret' options list.
I built the car with anti squat shims as per the manual but I notice from the set up sheets that team drivers are using less, something to try.


The SV2 is shipping with red seal bearings, as did the SX3, these are claimed to be better than the older yellow seal type found on the older cars. My experience with the SX3 bears this out.

The steering assembly went together nicely. My servo choice was the ubiquitous Savox 1251MG which is a nice fit without the need for any fiddly shims and leaves plenty of room for extra weight should it prove necessary.

The nose cowl and hinge pin mounts all drop into place nicely and before you know it you are sitting with an empty wine glass and something already resembling a 1/10 racing buggy.

Looking good.
Time to get a refill and crack on.

Just build the turnbuckles to the measurements provided in the manual. This is an easy job with the groovy carbon wrench supplied in the kit and wont be far out when it comes to set up.

Ok on to the gearbox.
I didn't own an SV so can't comment from experience but I am told that this was a weak area on the older car. Bearings would let go thus destroying various drive train parts necessitating major gearbox rebuilds, not fun!
New beefier internals and more of the improved red seal bearings should now ensure this is a thing of the past.


There are some really tasty alloy gearbox tops on the options list but at £60 they wont be finding their way onto my car.

Familiar components can again be found in the slipper assembly, these are effective and reliable so no need for major changes.
To guarantee a reliable and consistent slipper be sure to pre-compress your slipper spring with a pair of pliers prior to assembly.

Keeping with the theme the entire assembly mounts on a nice purple motor plate.

So far so good.
This build is going very smoothly thanks to the high quality parts and well written manual.
I've quaffed too much red wine to continue for now but I reckon this baby will only need one more session before my electrics install.
Pop back soon for part two.
Awsome as usual Pip....... and Red, good choice, Rioja???
ReplyDeleteThanks Darren .. As I recall it was a tasty full bodied shiraz.
Delete